How to read contour lines before you leave the house
Ten minutes with the contour lines will tell you more about tomorrow’s walk than any app. Here’s how to read them, in plain words, with no jargon.
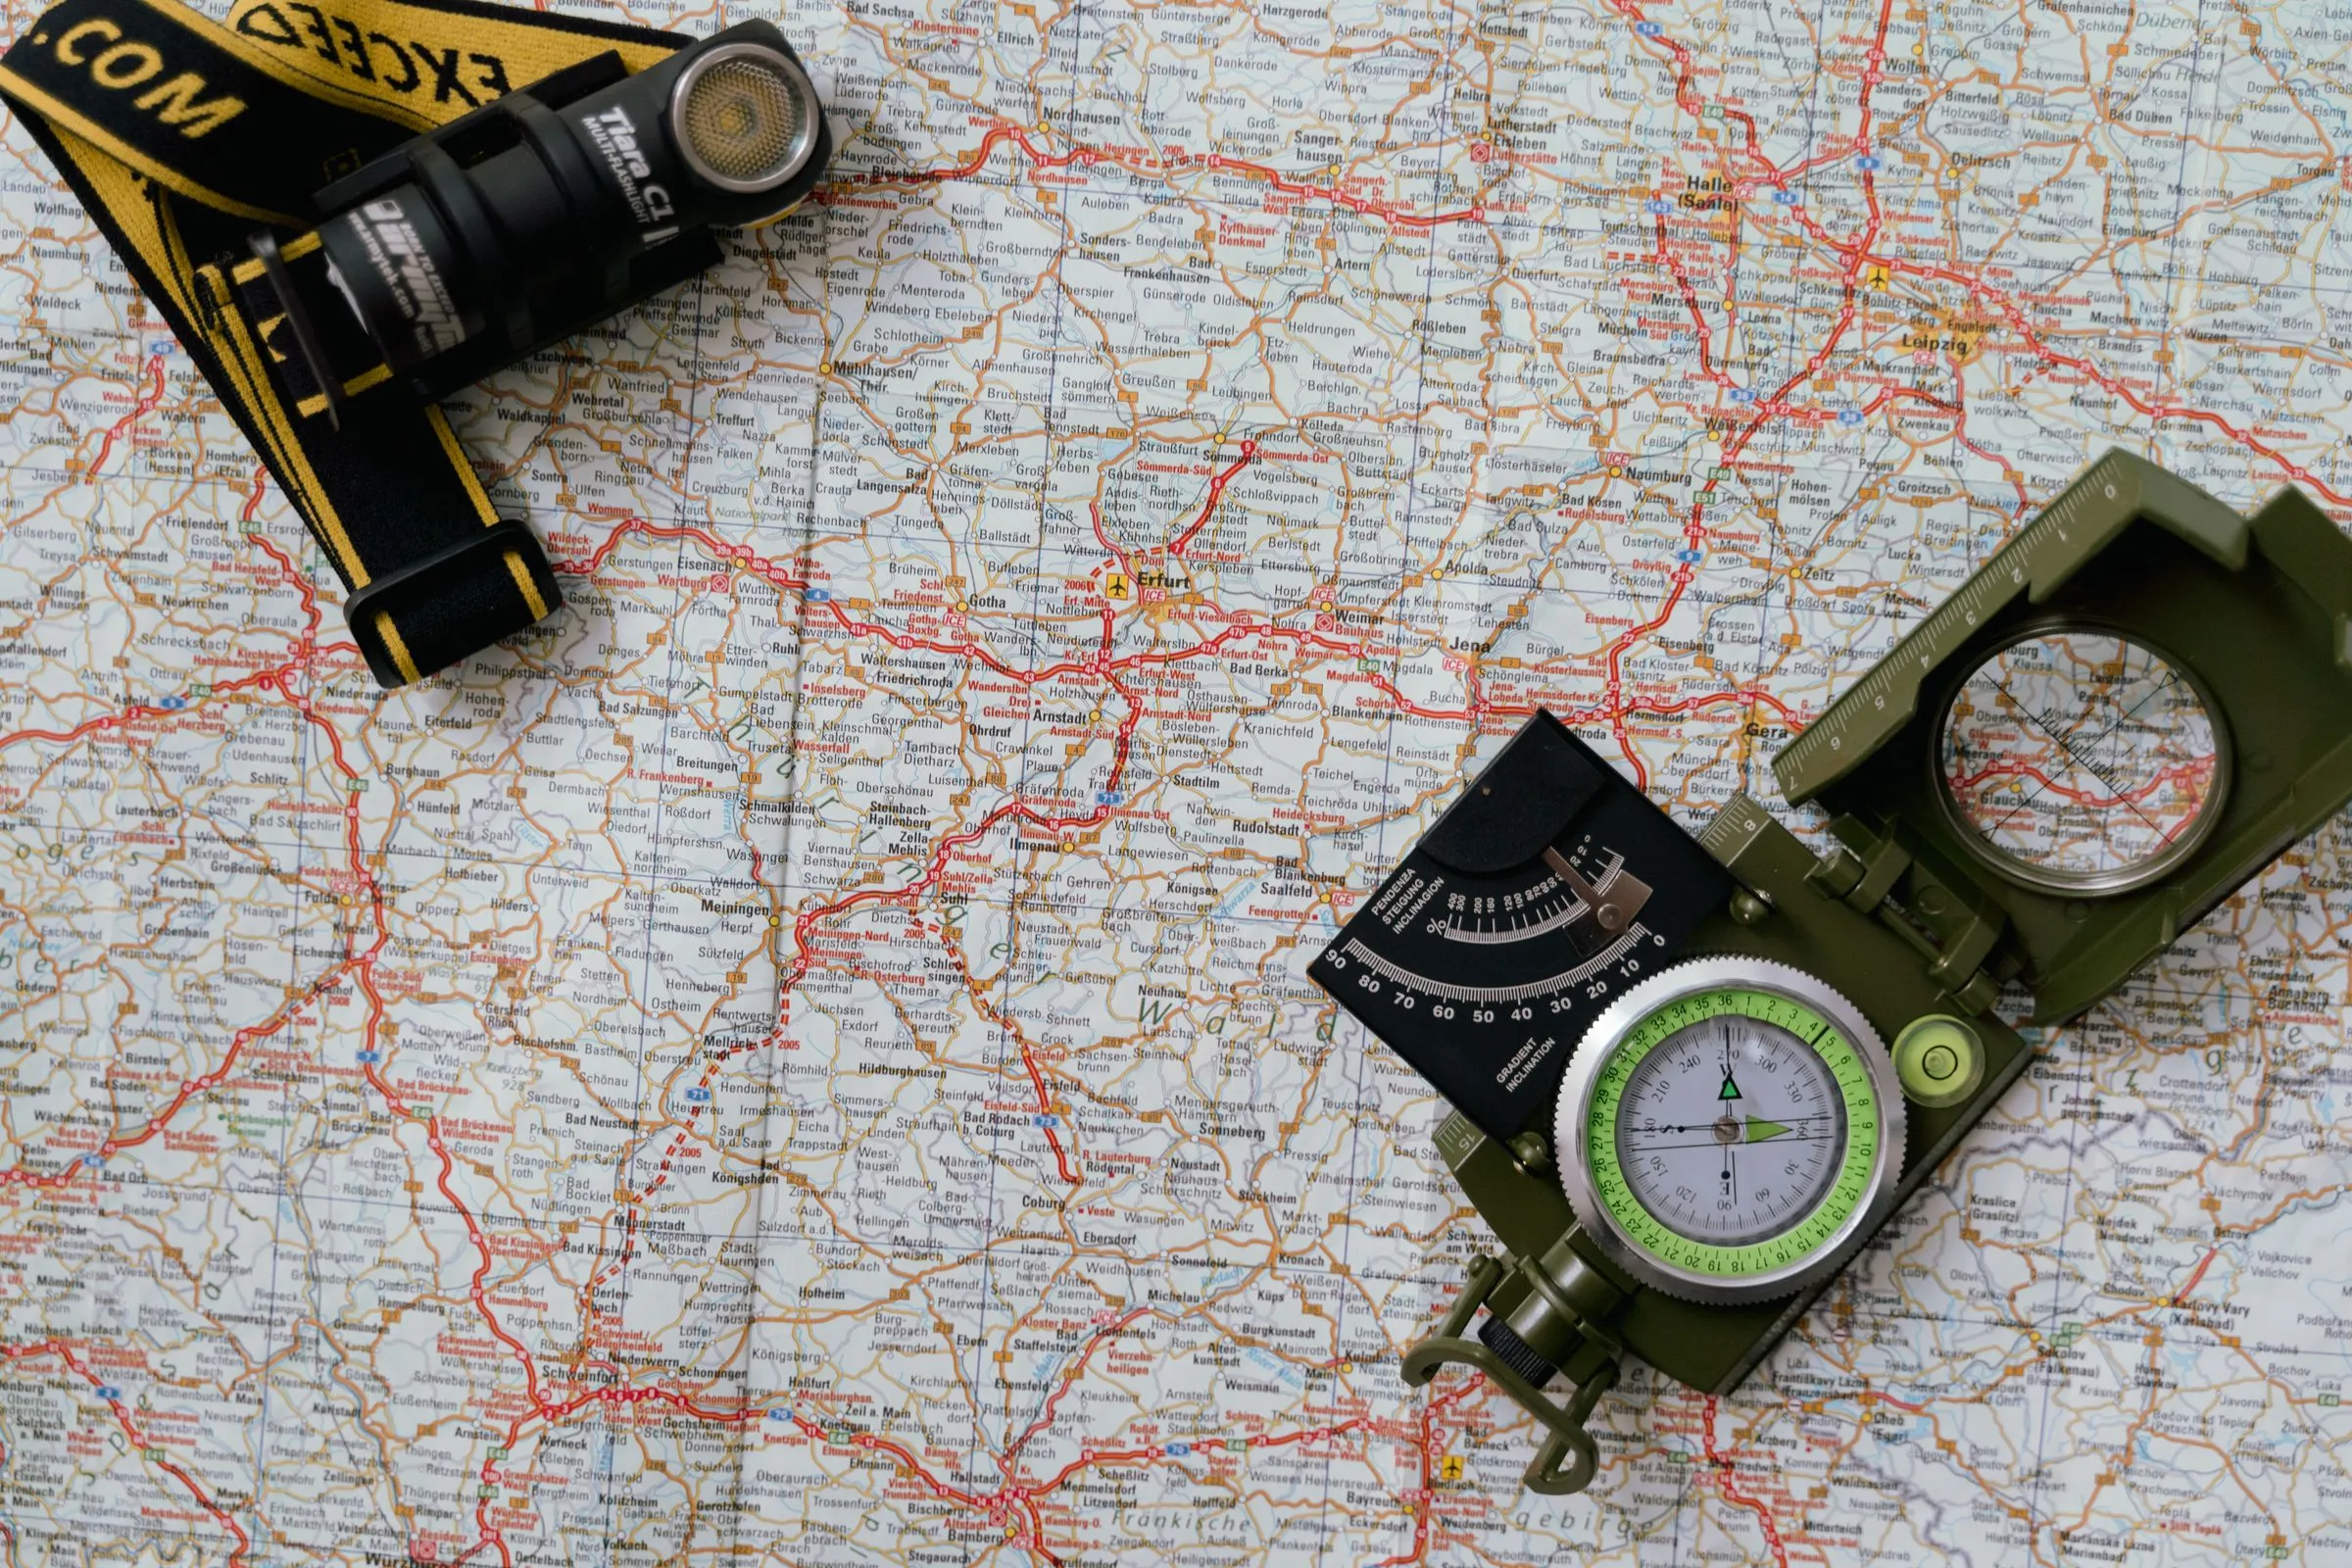
Before I wrote about walking, I spent nine years drawing maps, and the question I was asked most by friends was how to read “all those squiggly lines.” The honest answer is that it takes about an evening to learn the basics and a lifetime to stop being surprised by them. The basics are what matter, and they’ll change how you plan every walk.
What a contour line actually is
A contour line joins together every point on the ground at the same height. Imagine slicing a hill horizontally every 10 metres and drawing around the edge of each slice. That’s it.
On most walking maps:
- Thin lines are usually every 10 m (or 5 m on some larger-scale maps).
- Every fifth line is thicker, and often labelled with its height. These are called index contours, and they’re your quickest way to count.
- The numbers read uphill. The top of a contour label faces up the slope.
Check the map’s key for the interval. It’s printed in the margin, and it’s the most important number on the map.
Close together means steep
This is the one thing to remember if you remember nothing else.
- Lines close together: steep ground. Very close, or merging into each other, means cliffs or crags.
- Lines far apart: gentle slopes or flat ground.
- No lines at all for a while: flat. A plateau, a valley floor, a bog.
Before any walk, run a finger along your route and look for places where the lines bunch up. Those are your climbs, your descents, and anywhere that might be harder than the distance suggests.
Ridges and valleys: the V that confuses everyone
Where contours form a V or a U shape, you’re looking at either a ridge or a valley, and it’s easy to mix them up. Here’s the trick:
- If the point of the V faces uphill (towards higher numbers), it’s a valley. Streams often run down the middle, which is a helpful clue.
- If the point of the V faces downhill (towards lower numbers), it’s a ridge or spur.
A shortcut: find any stream on the map. Look at the contours where it crosses them. They’ll always make a V pointing upstream. Once you’ve seen that a few times, ridges become obvious as the opposite shape.
Spotting the useful features
- Summits: small closed loops, often with a spot height in the middle.
- Saddles or cols: the low point between two summits, where contours form an hourglass shape. Paths often cross ridges here, because it’s the easiest way over.
- Shoulders: a flatter step on a slope, where contours spread apart briefly before bunching again. Good places to stop for a breather, or to camp.
- Convex slopes: lines close together at the bottom and spread out at the top. You won’t see the summit until you’re nearly on it. This is the classic “false summit” slope.
- Concave slopes: spread out at the bottom, bunched at the top. You can see the top all the way up, which is either encouraging or demoralising.
Planning a route with contours
Here’s how I use them the night before a walk:
- Trace the route with a finger or a piece of string.
- Count the contours on each climb. Twenty thin lines at a 10 m interval is 200 m of ascent.
- Add time for the climbing. A common rule is 10 minutes for every 100 m of ascent, on top of your time on the flat. I add more on rough ground.
- Look for escape routes. Where could you leave the route quickly, on gentle ground, if the weather turns? Write them down.
- Note the steepest section. If it’s a descent, especially in the wet, that’s where to be careful at the end of a tired day.
Practise on a walk you already know
The best way to learn is backwards. Take a map of a walk you’ve done many times and look for the places you know are steep, or flat, or boggy. You’ll see exactly how the lines show them, and the next unfamiliar map will start to make sense.
It’s also good practice for the first solo overnight, where knowing the lie of the land around your camp before you get there takes a lot of the uncertainty out of the night.