How to plan your first solo overnight, step by step
Your first night out alone is mostly a planning problem, not a bravery one. Here’s the exact process I use, from picking a spot to the 2 a.m. noises.
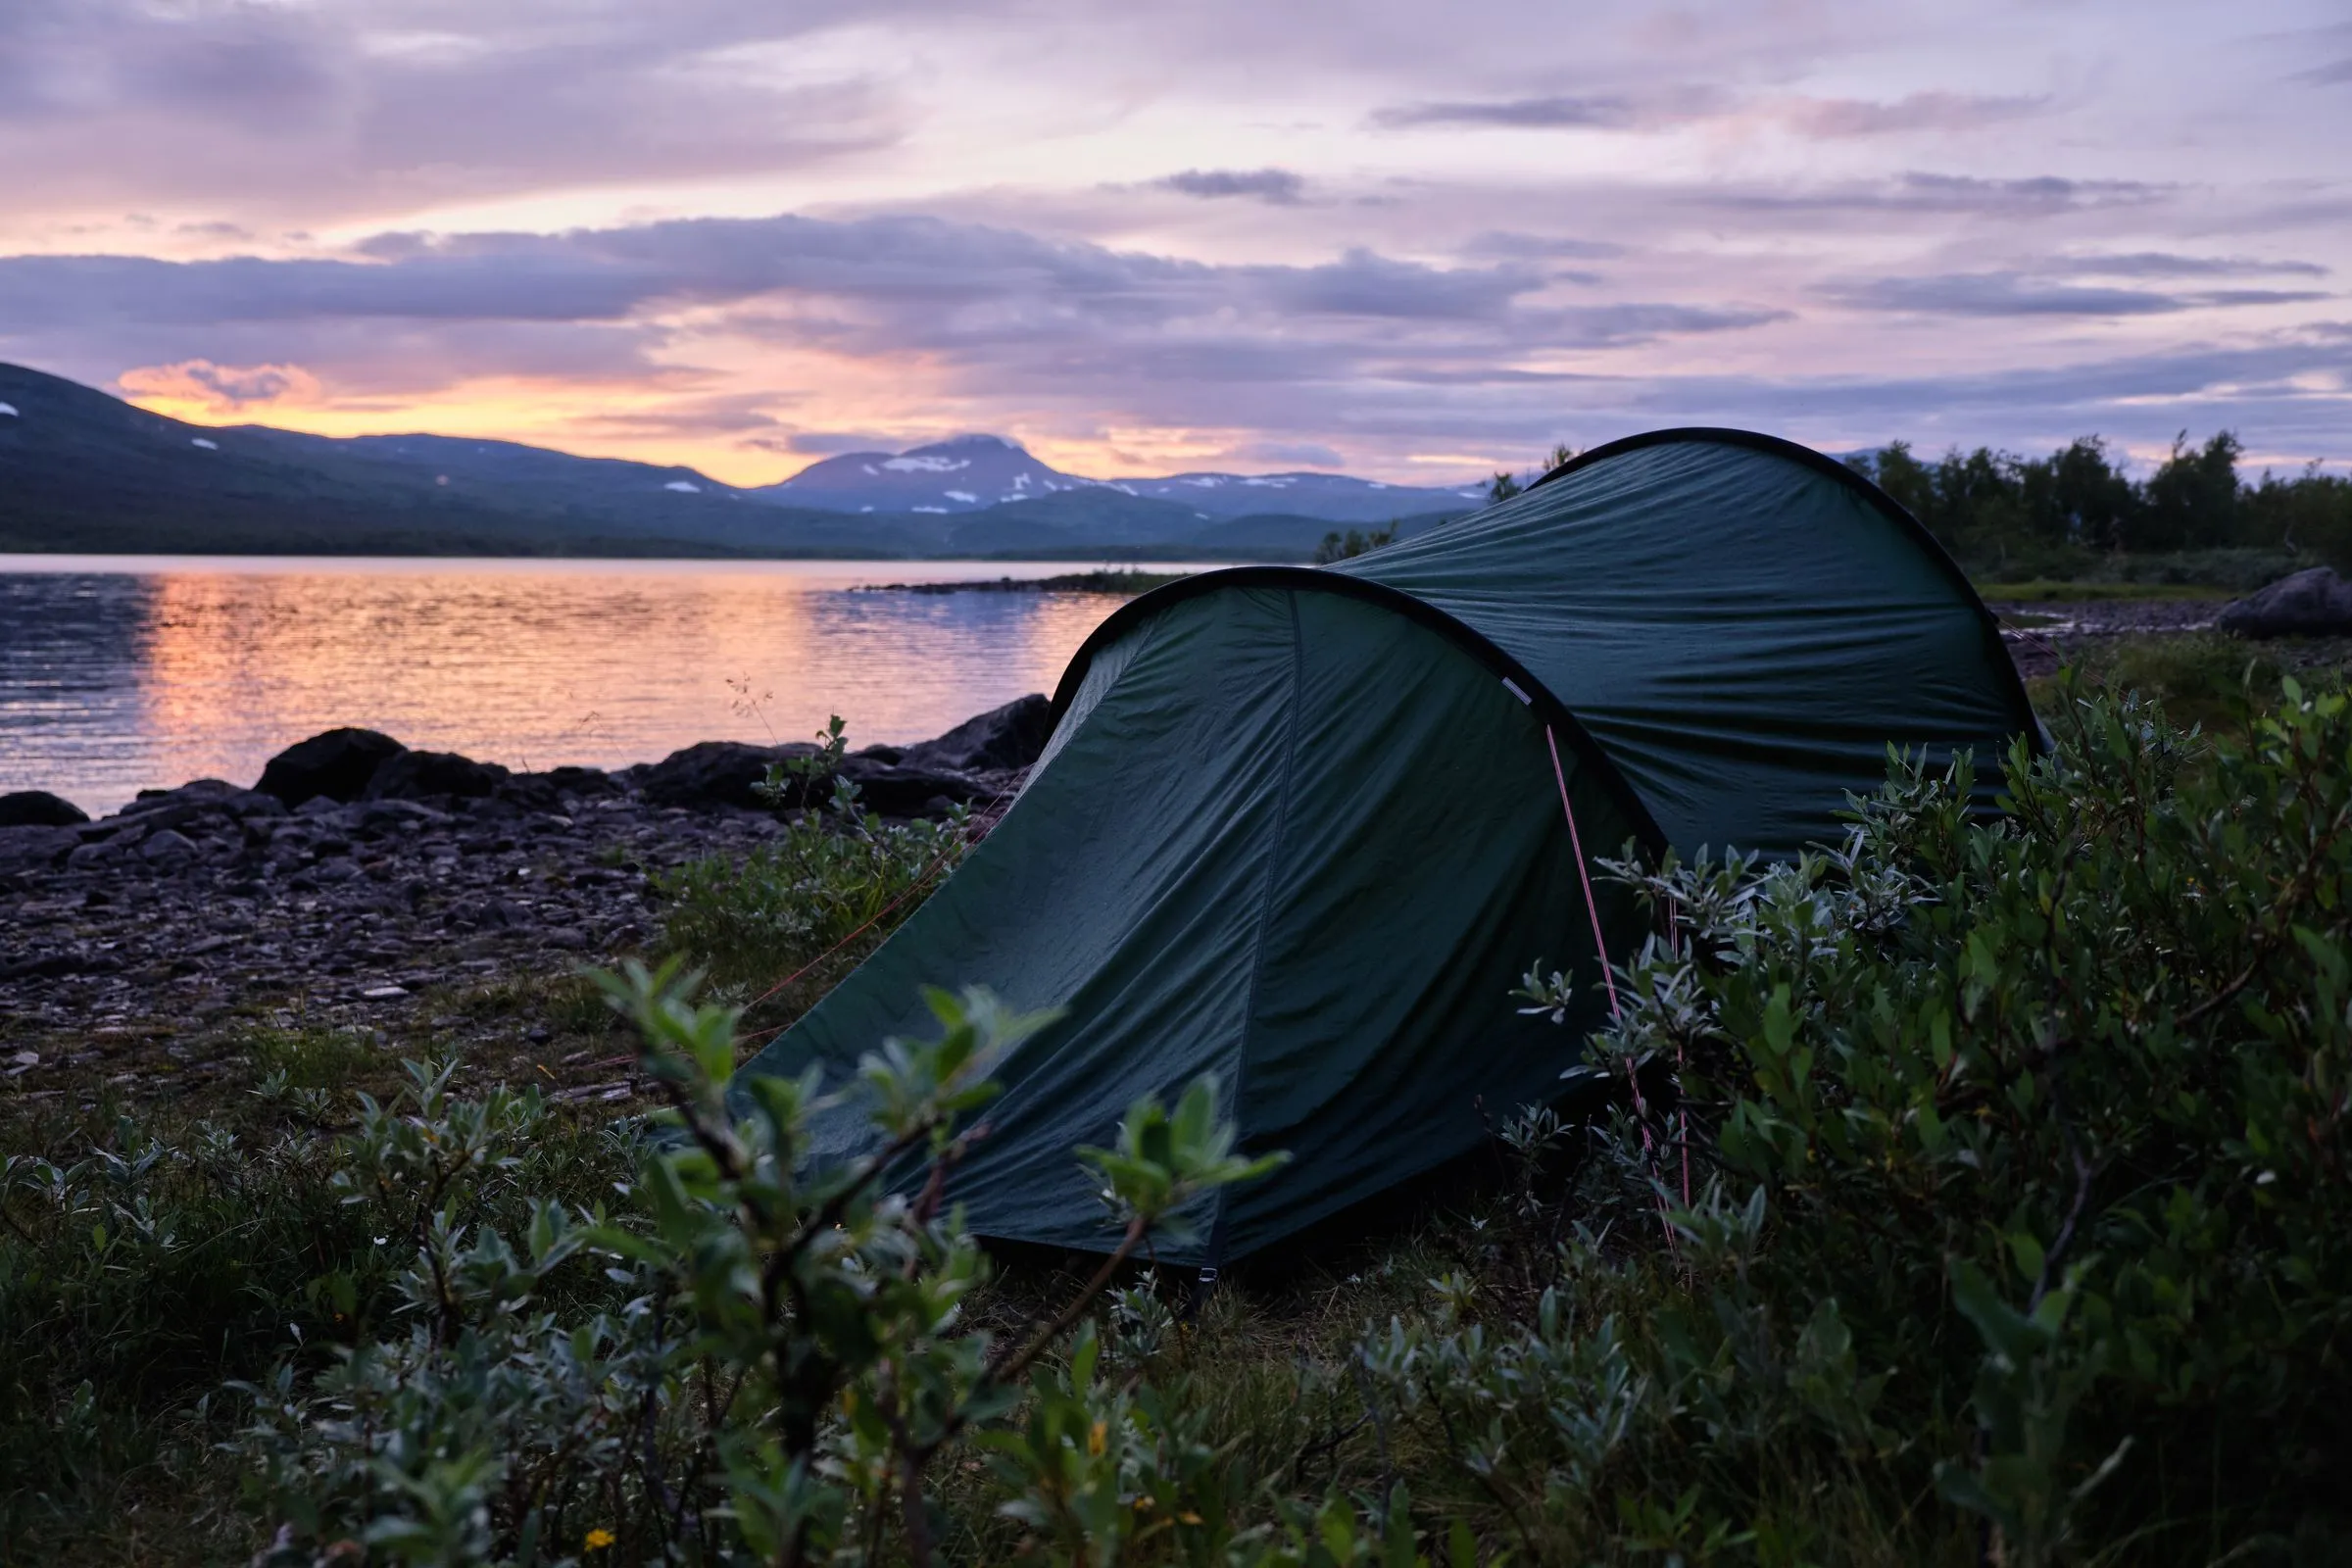
People talk about the first solo night out as if it’s a test of nerve. In my experience it’s far more a test of planning. If you’ve picked the right spot, checked the weather properly, practised with your kit and told someone where you are, there isn’t much left for nerve to do. What remains is a slightly strange, very quiet, often wonderful night.
This is the process I’ve used for years, and the one I walked a friend through before her first night out last spring. It assumes you’ve camped before with other people, even if only at a campsite, and want to do it alone somewhere wilder.
Step 1: Pick a spot you could walk out from in the dark
Your first solo night isn’t the time for a remote valley two days from anywhere. Choose somewhere under two hours’ walk from a road, ideally on a path you’ve already walked in daylight.
That sounds unadventurous. It isn’t. Being able to walk out, even in the dark, even in rain, removes most of the background worry that keeps people awake. You’ll find you don’t need to. Knowing you could is enough.
Look for:
- Flat, well-drained ground. A slight rise beats a hollow, which is where cold air and rainwater collect.
- Shelter from the prevailing wind. A line of trees, a boulder or a fold in the ground makes a huge difference to noise and warmth.
- Water within a short walk, or carry it all in. For one night, three litres covers dinner, breakfast and drinking.
- Somewhere camping is allowed. Rules vary a lot from place to place. Check with the land manager or the local park authority before you go, not after.
Step 2: Check the weather twice, and set a turn-back rule
Look at the forecast three days out to choose the night, then again the morning you leave. You’re looking for three things: wind, overnight low, and rain timing.
Wind matters most. Above about 40 km/h (25 mph) a tent gets noisy, and noise is what keeps first-timers awake. For a first night, pick a calm one.
Then write down your turn-back rule before you go, so you don’t have to make the decision tired and cold. Mine is simple: if the wind or rain is clearly worse than forecast when I reach the spot, I walk out. I’ve used it twice. Both times I was glad.
Step 3: Pack the short list, then test it at home
You don’t need much for one night. You do need all of it to work. The core list:
- Shelter: tent, pegs, poles. Count the pegs.
- Sleep system: a sleeping bag rated a few degrees below the forecast low, and an insulated mat. The mat matters more than the bag. Cold comes up from the ground.
- Warmth: a warm layer you only wear in camp, a hat, dry socks for sleeping.
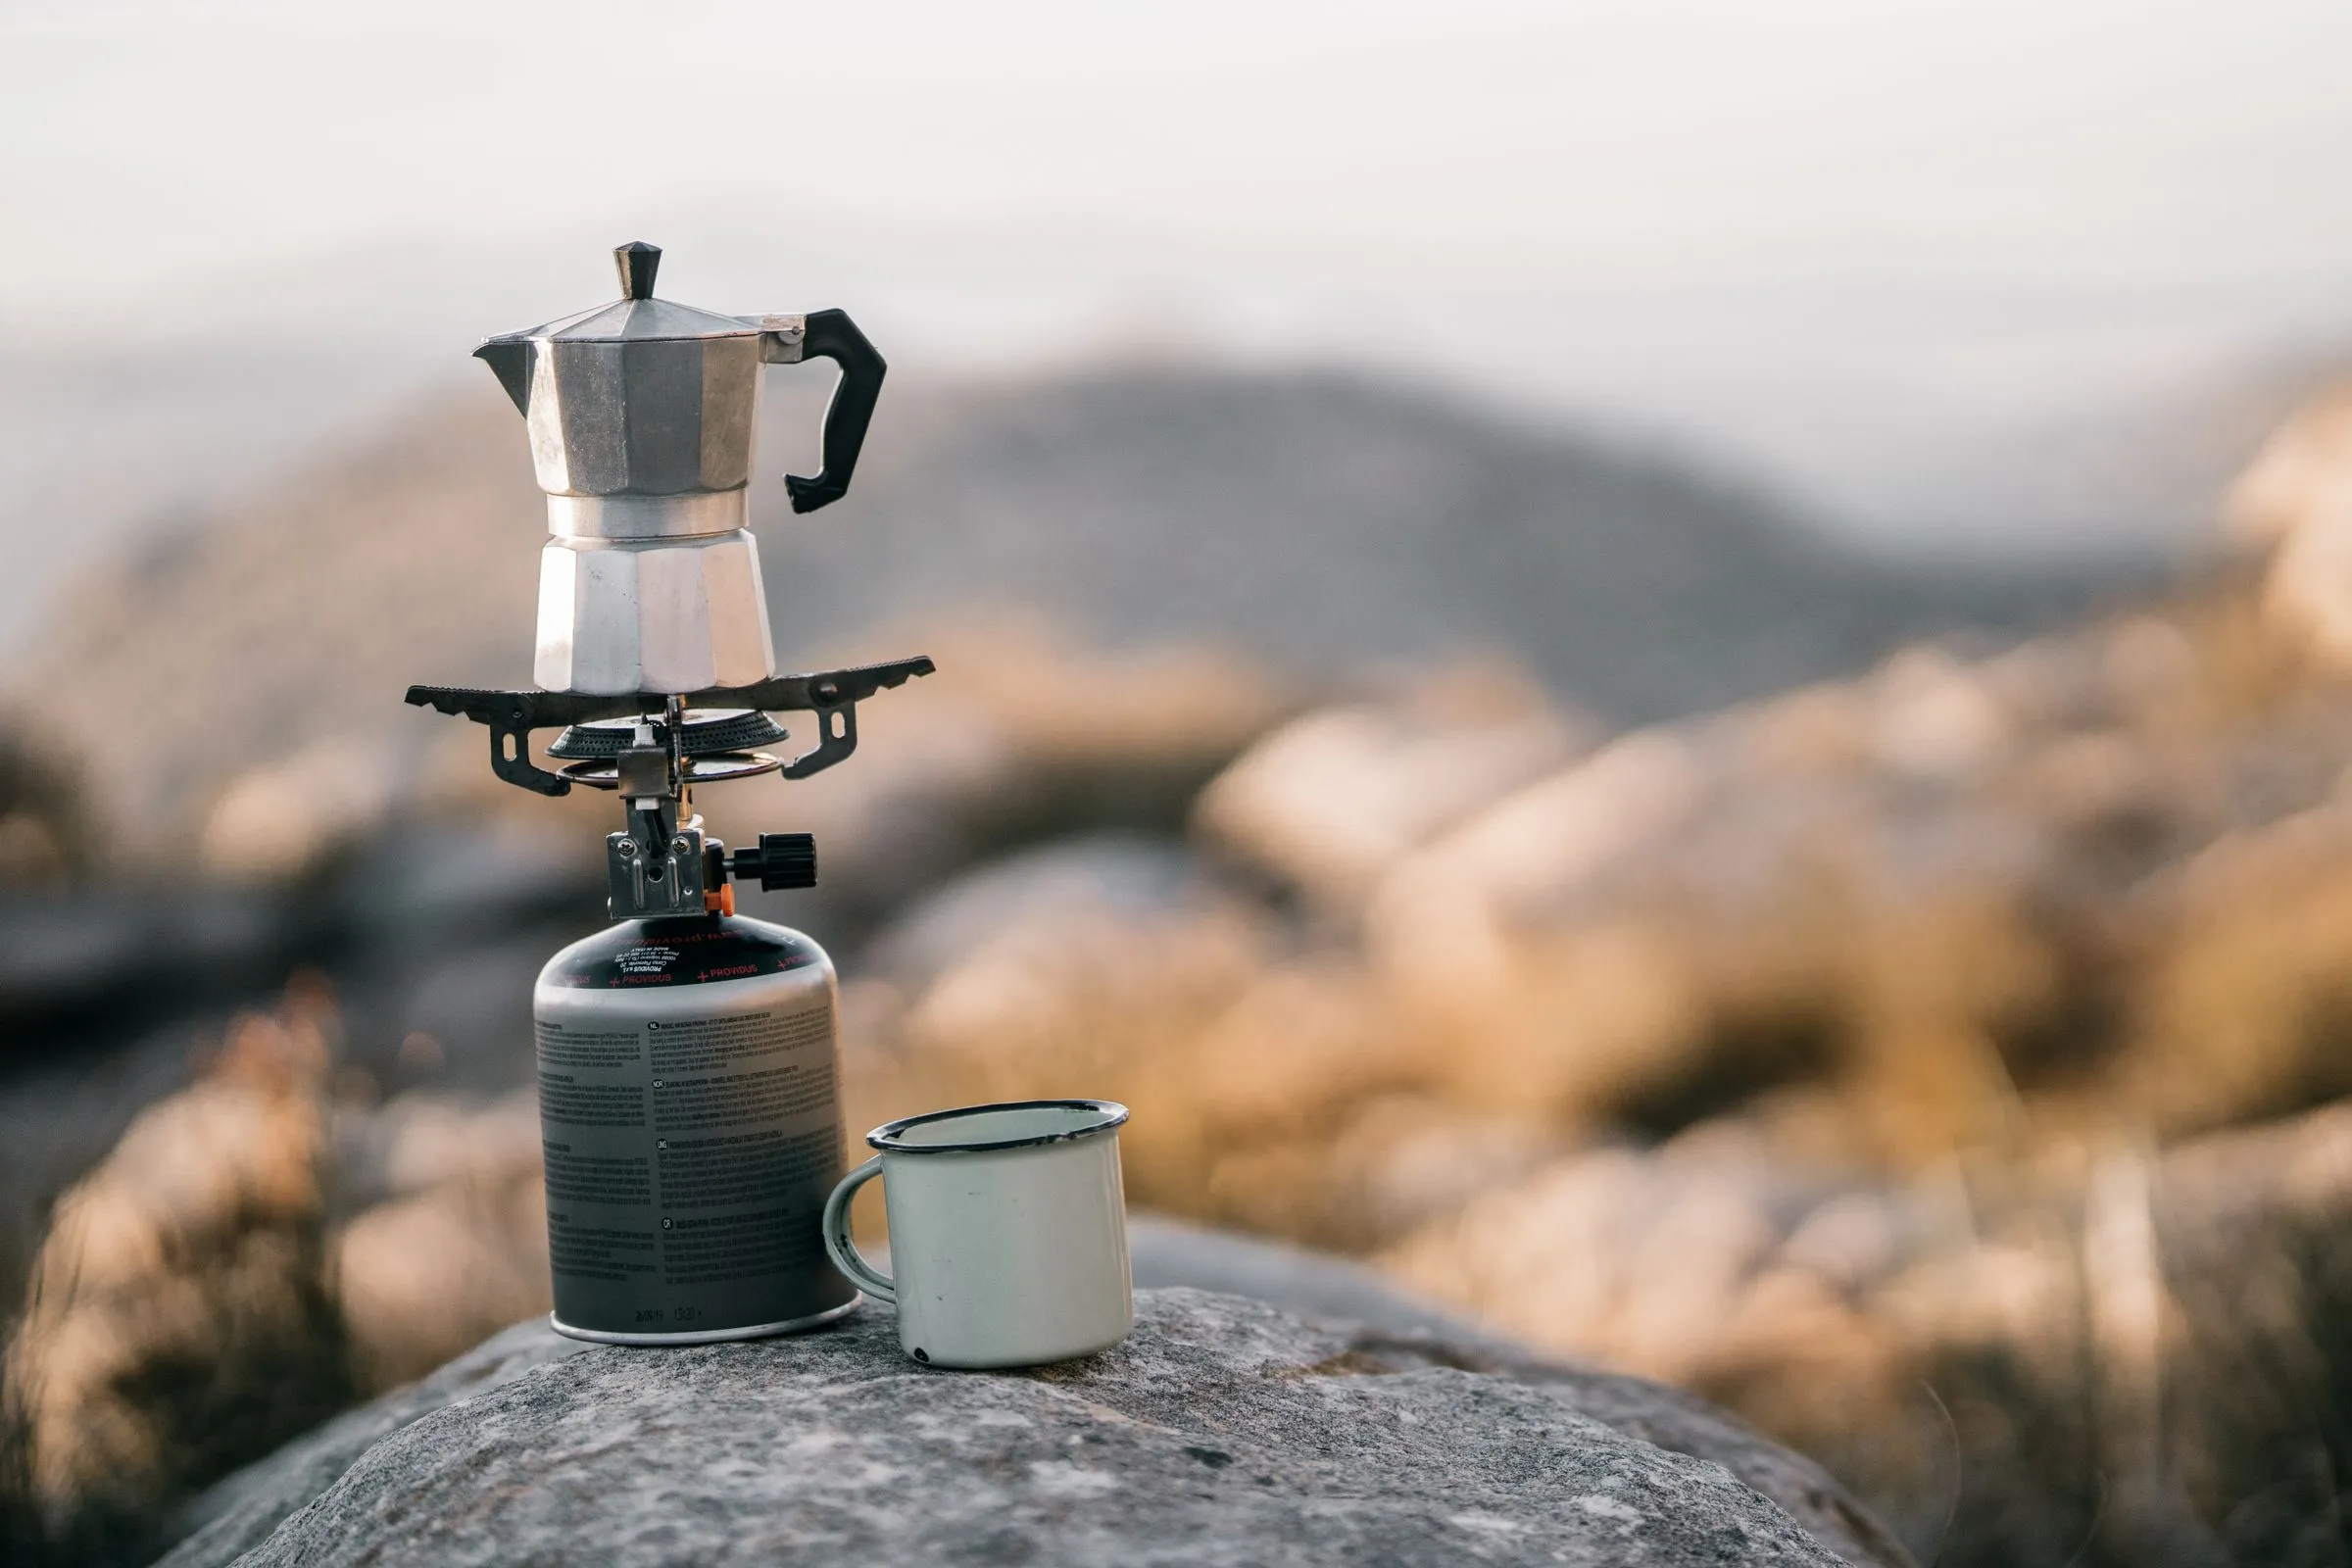
- Food and water: a hot dinner, a hot drink, breakfast, and more snacks than you think.
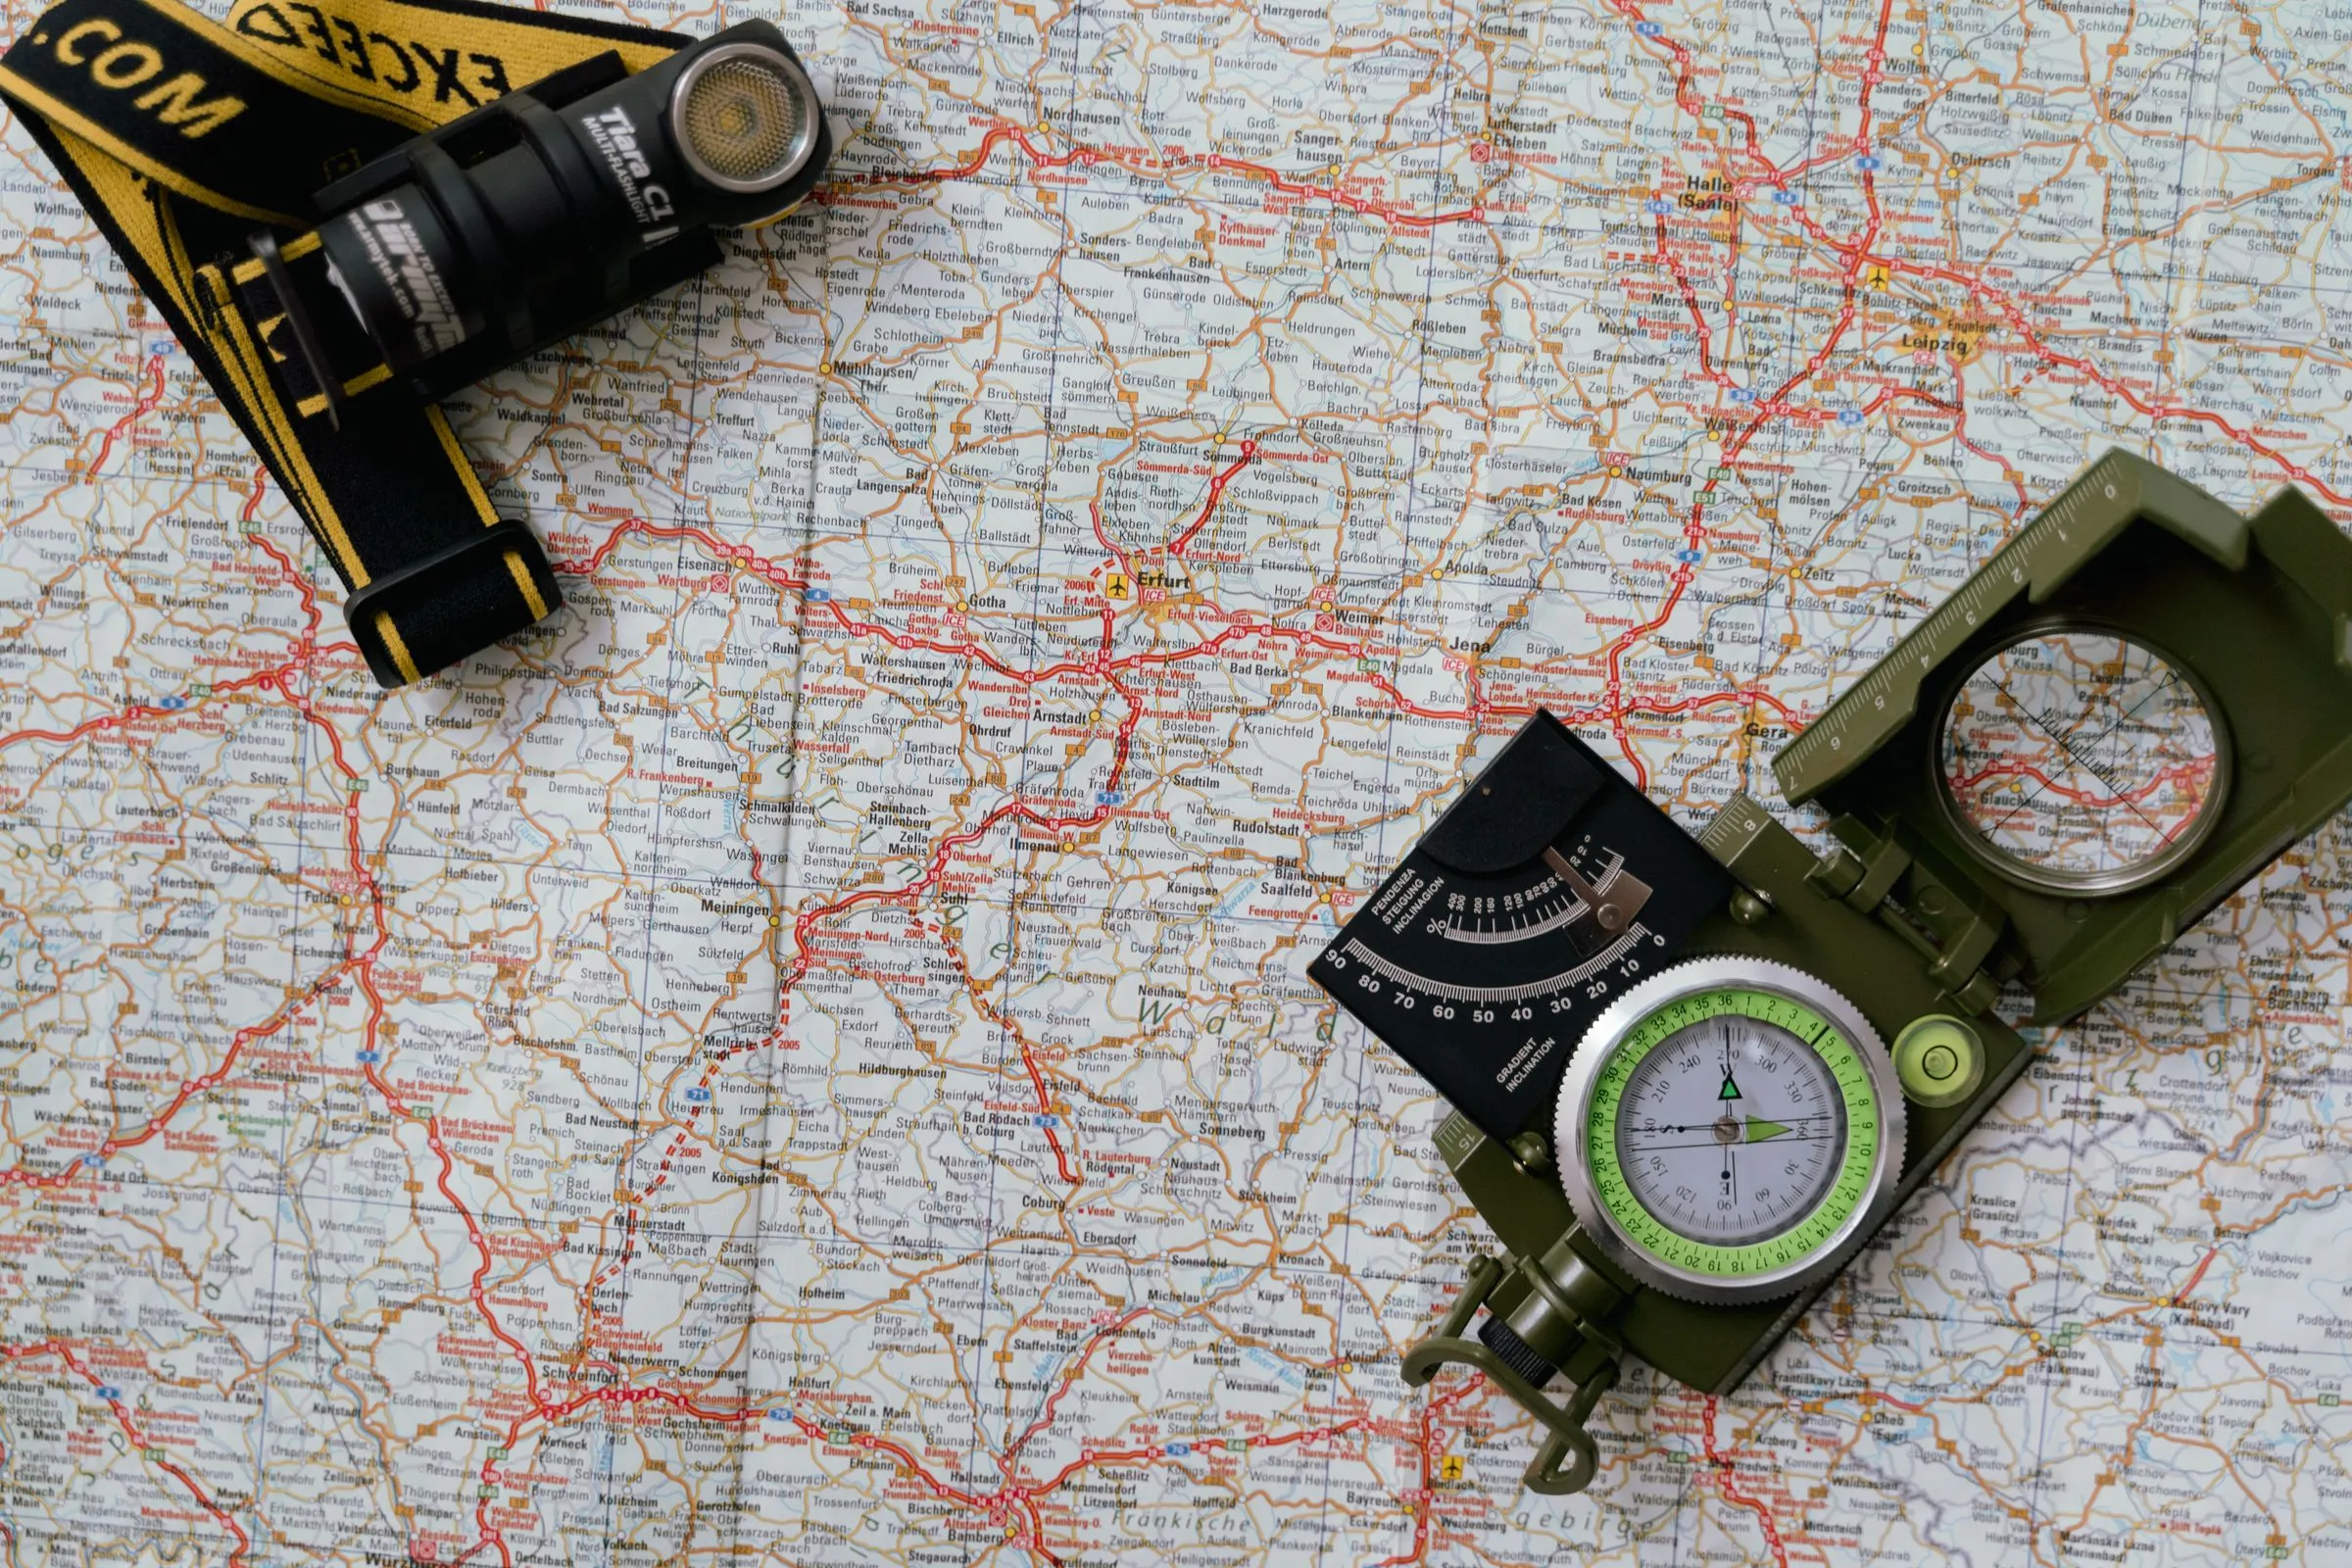
- Light and safety: headtorch with fresh batteries, a charged phone, a small first aid kit, a paper map.
Then pitch the tent in a garden or a park. Time yourself. Do it again with your eyes half shut, because the first time you pitch it for real might be at dusk with cold fingers. Light your stove once, too, to check the gas and the lighter both work.
There’s a fuller kit list, with weights, in my three-season overnight kit.
Step 4: Leave a trip plan with someone
This is the step people skip, and it’s the only one that really matters if something goes wrong.
Send one person a short message with:
- Where you’re parking or which bus you’re taking.
- Where you plan to camp, as a map reference or a dropped pin.
- When you’ll be back in signal, and the time after which they should call for help if they haven’t heard from you.
Then actually message them when you’re out. Agree on a time with a bit of slack (I say “by noon, call at two”) so nobody panics over a slow breakfast.
Step 5: Arrive with daylight to spare
Aim to reach your spot at least two hours before sunset. That gives you time to walk around, choose the exact patch of ground, pitch without rushing, cook in the light and settle in before dark.
Arriving late is the most common first-night mistake I hear about. Pitching by headtorch on unfamiliar ground is where poles get snapped, pegs get lost and the night starts on the wrong foot.
Once you’re pitched, do a slow lap of the area. Note where the path is, where the water is, and anything you might trip over on a 3 a.m. trip outside. It takes ten minutes and makes the dark much less strange.
Step 6: Have a plan for the 2 a.m. wake-up
You’ll probably wake in the night. Almost everyone does on a first solo night, and it’s rarely fear, more that everything is unfamiliar: the ground, the cold air on your face, the silence.
The noises are the hard part. Nearly everything you hear will be wind in grass, a bird, a small animal, or the tent fabric moving. Sound carries strangely at night, and a vole in dry leaves can sound like something much bigger.
What helps:
- A warm drink in a flask, made before bed and left within reach. Sitting up and drinking something hot resets things.
- Something to listen to. One earbud, a downloaded podcast, low volume. Not cheating.
- A snack. Being warm and fed makes everything seem smaller.
- Knowing you can leave. You picked a spot you could walk out from. You almost certainly won’t, but you could.
After the first night
In the morning, make a slow breakfast and take your time packing up. Leave the spot as if no one had been there: pick up every scrap, and check the ground where the tent stood.
Then write down three things: what you were glad you brought, what you didn’t use, and what you’d change. That list is how your second night gets better, and why the third one starts to feel normal.
If you want a gentle place to try all this, a ridge with a hut is a good halfway step. My Skellan Ridge trip report has a one-night option that’s ideal.